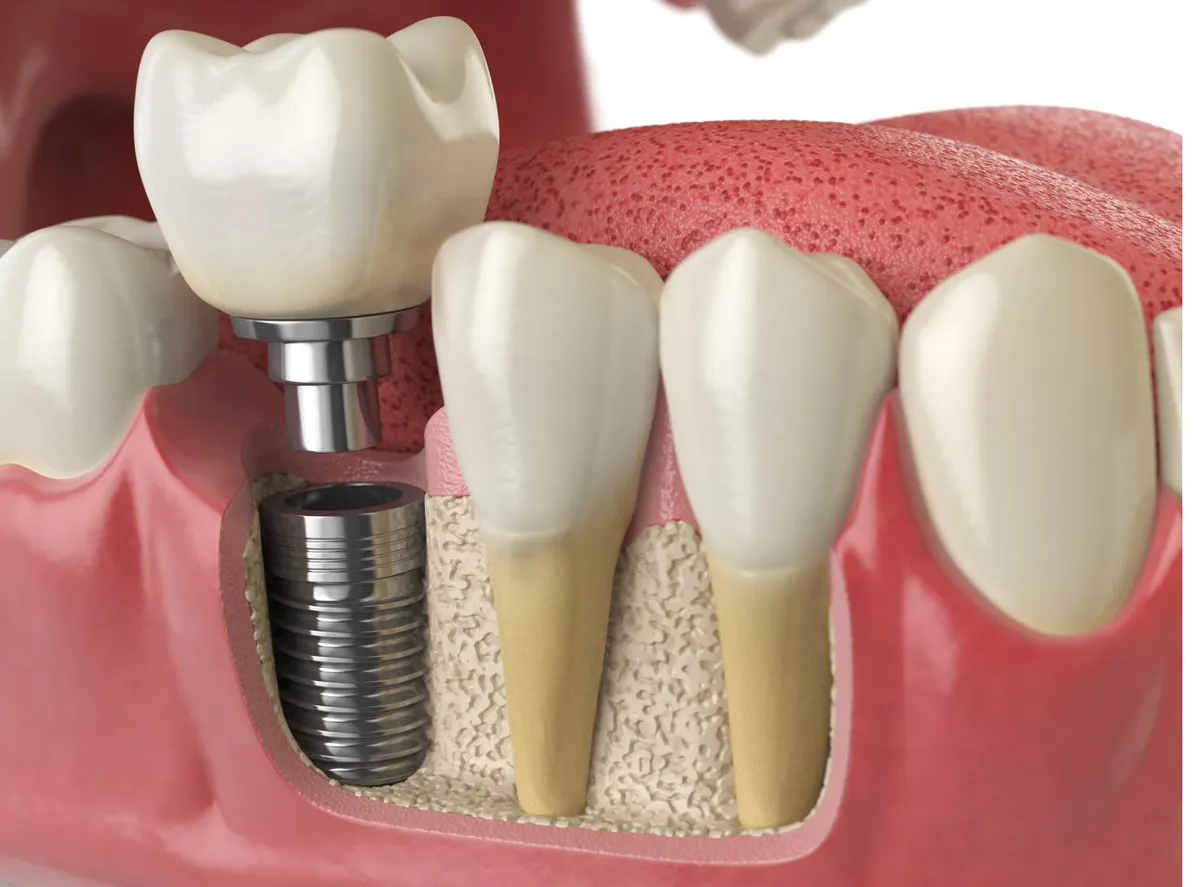
Individual Implants
Each missing tooth gets its own implant post and crown, functioning independently of the others. This tends to suit scattered gaps, or situations where keeping each tooth separately maintainable matters most.

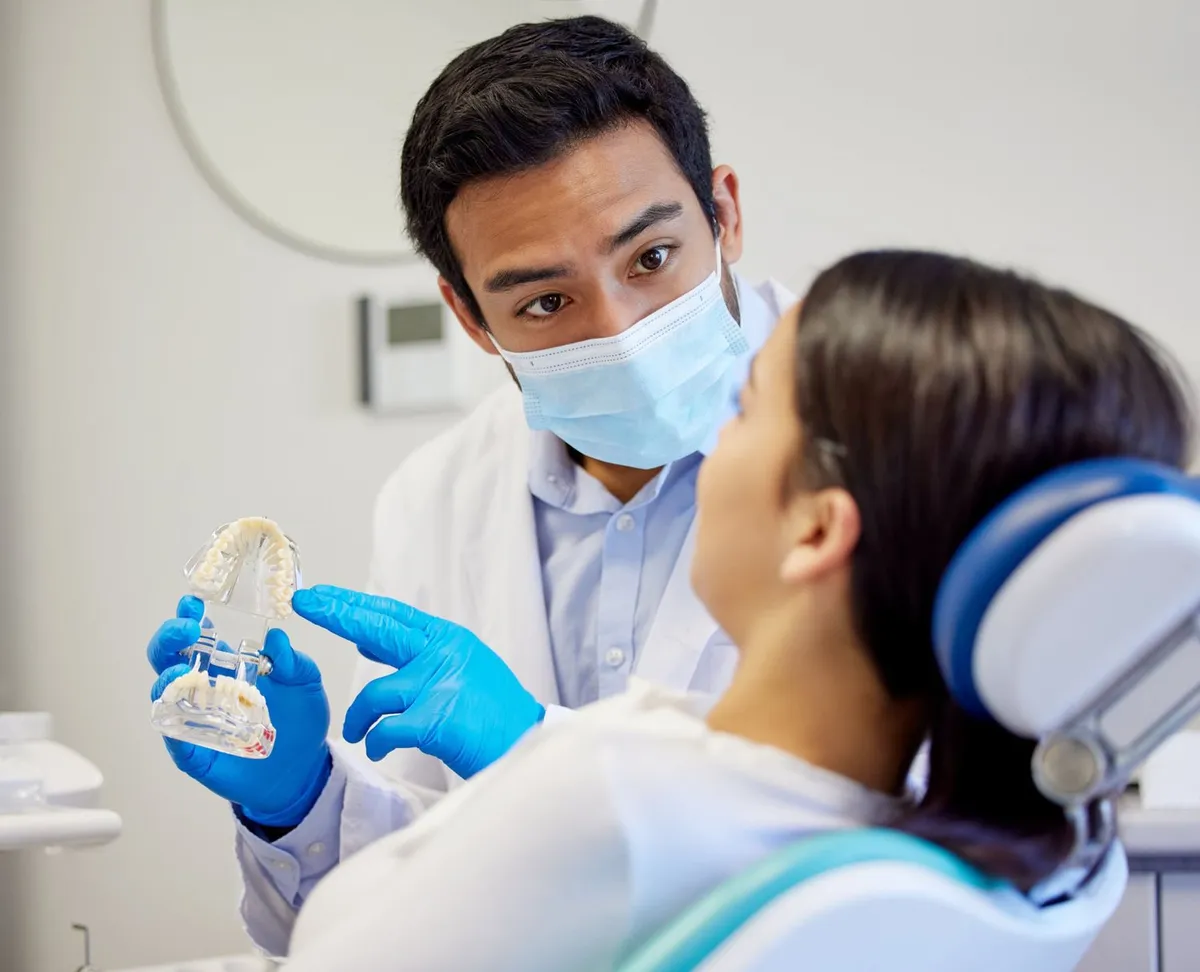
Maybe it's a handful of teeth lost over the years, or several that need to come out at once. Multiple tooth implants — whether as individual implants or an implant-supported bridge — can restore several teeth without relying on a removable plate. We'll map out the honest options for your specific gap before anything is decided.
When more than one tooth is missing, the workarounds tend to stack up — a removable partial denture here, avoiding certain foods there, a bridge that's starting to show its age. It's worth seeing the fixed options laid out honestly, rather than patching one gap at a time.
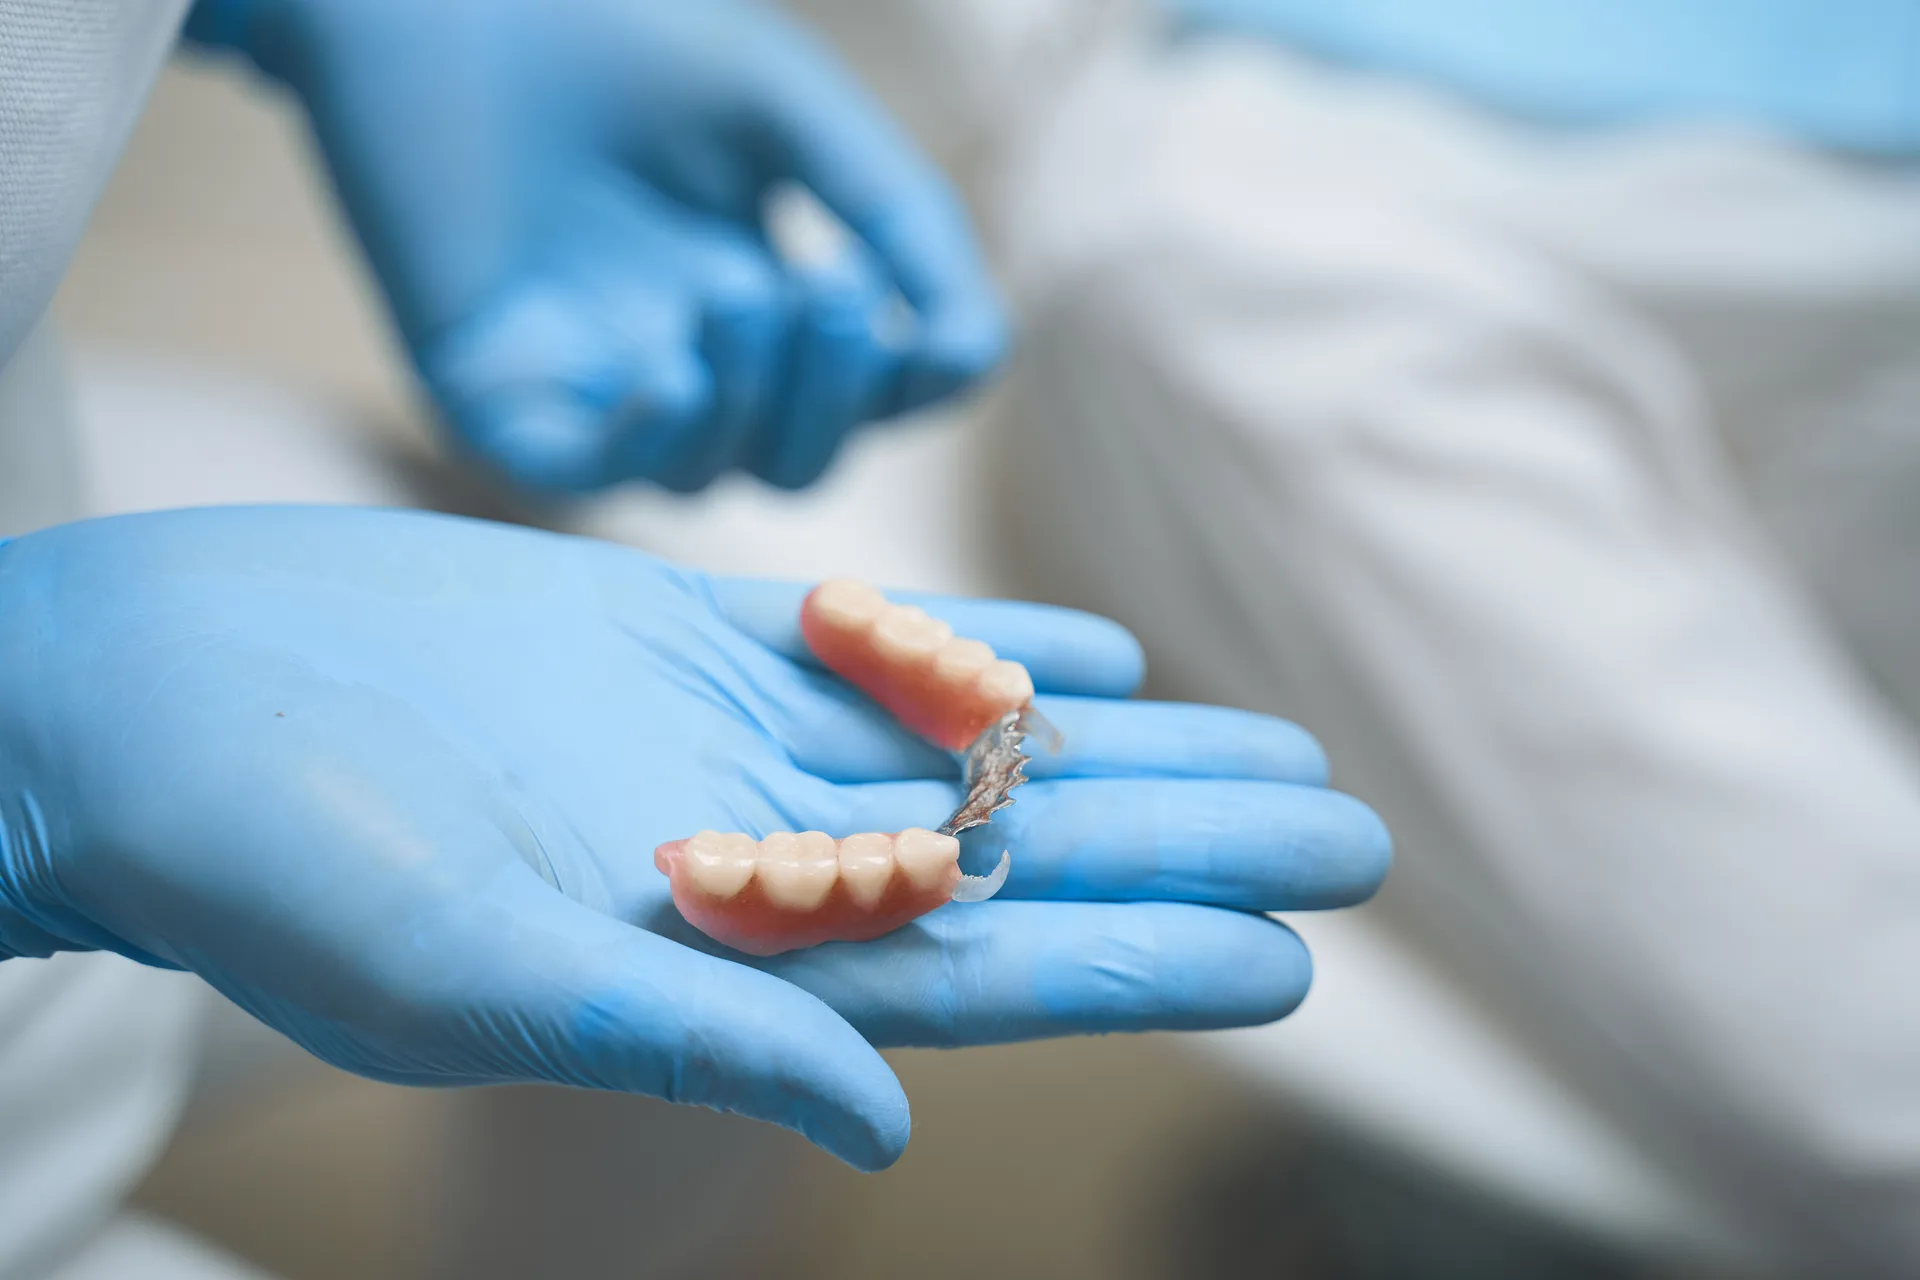
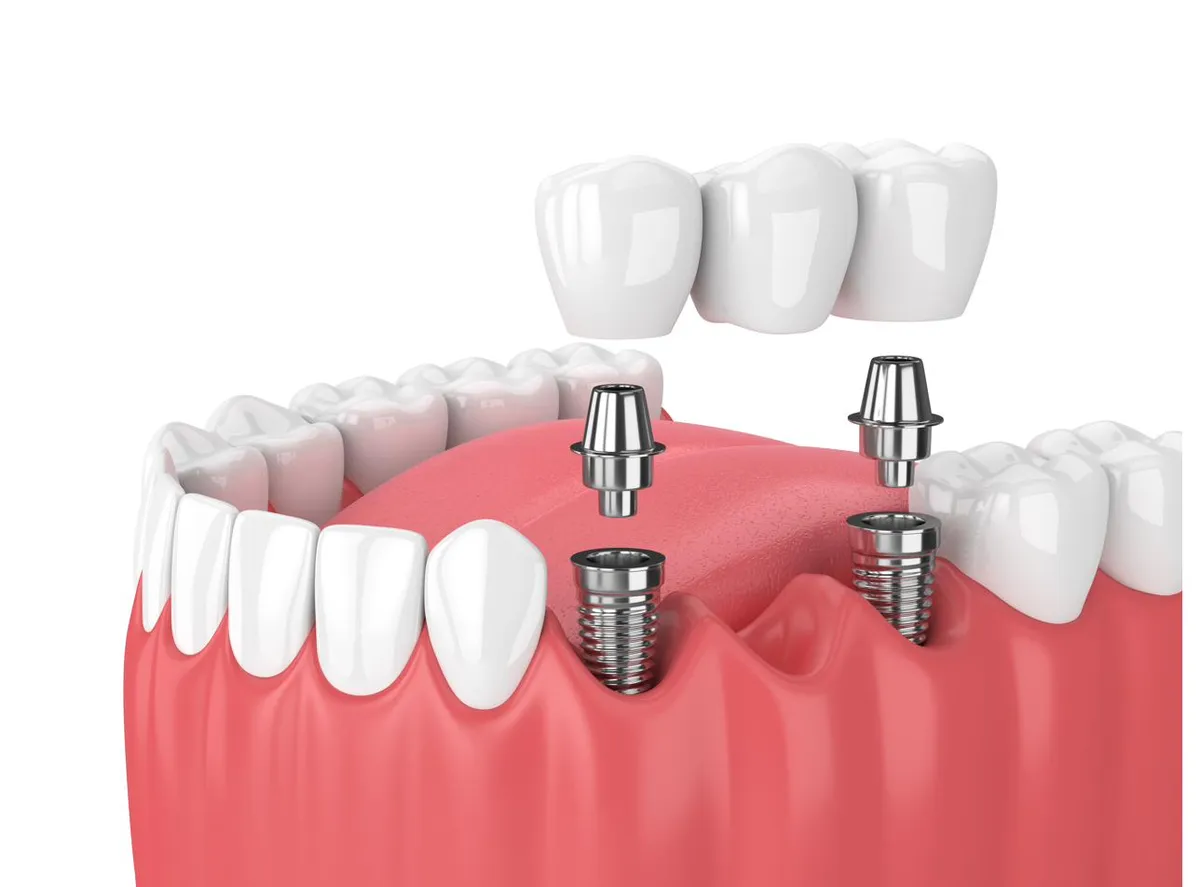
When several teeth need replacing, there are two broad approaches. The first is individual implants — one post and crown per missing tooth, each functioning independently. The second is an implant-supported bridge, where a smaller number of implants are placed strategically and used to anchor a connected span of replacement teeth across the gap.
Which approach suits you comes down to how many teeth are missing, where they sit, and how much bone is available at each site. An implant bridge can mean fewer implants overall than teeth being replaced, which is worth discussing if cost or treatment time is a factor — though it isn't automatically the right call for every gap.
Neither is automatically "better" — each suits a different gap. Here's the honest comparison, and it's exactly what we'll walk through at your consultation.
Each missing tooth gets its own implant post and crown, functioning independently of the others. This tends to suit scattered gaps, or situations where keeping each tooth separately maintainable matters most.
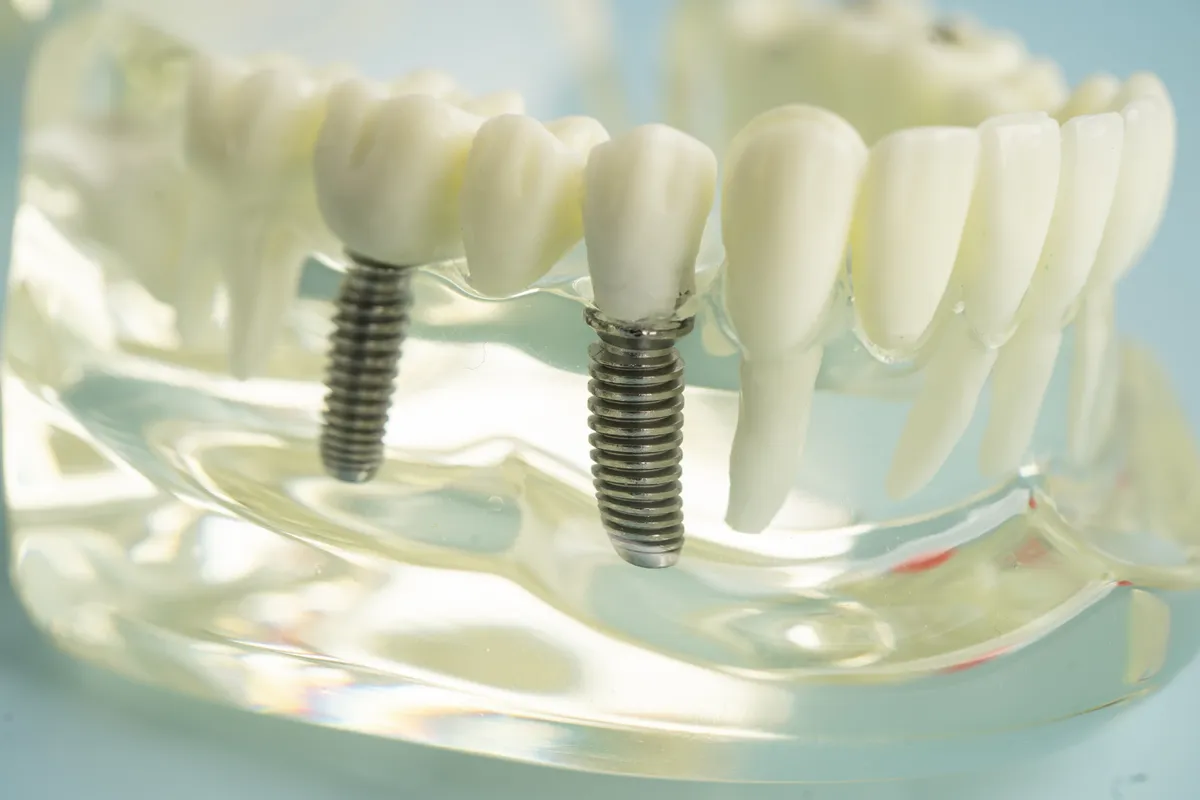
A smaller number of implants support a connected span of replacement teeth. This tends to suit a run of adjacent missing teeth, where bone volume and position allow the implants to safely carry the extra span.
Suitability depends on which teeth are missing, their position, and the bone available at each site. Results and treatment time vary between individuals — confirmed together at your consultation.
More sites means more planning upfront, but the same unhurried approach throughout.
Consultation & 3D imaging
We map every site involved with 3D imaging, and talk through whether individual implants or an implant bridge fits your gap best.
Any preparation needed
Some sites may need bone grafting or a sinus lift while others don't — we'll be specific about which applies to which tooth.
Placing the implants
Implants are placed at the planned positions, then given time — typically some months — to integrate before restoration.
Fitting the restoration
Once integrated, your individual crowns or implant bridge are made, checked and fitted, matched to your bite and shade.
Review & ongoing care
Each implant is reviewed individually at check-ups, since one can be affected without the others being involved.
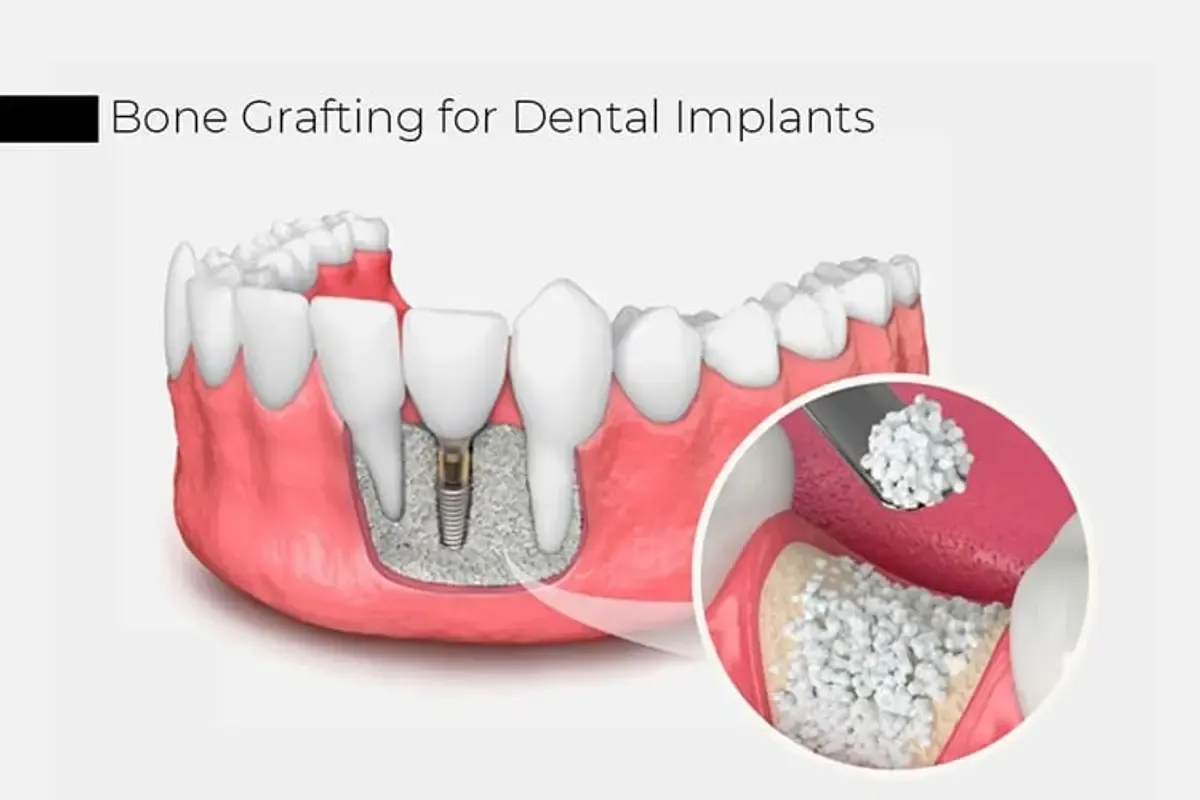
With several missing teeth, it's common for bone volume to vary from site to site — one gap might have plenty of bone, while another, especially one that's been empty longer, may have thinned over time. Bone grafting adds material at the sites that need it, rebuilding volume to create a stable foundation for an implant.
Because multiple sites are involved, we map this out clearly per tooth rather than treating your whole mouth as one blanket case — some sites may need grafting, others may not, and we'll be specific about which is which before any treatment begins.
Any surgical or invasive procedure carries risks. Before proceeding, please seek a second opinion from an appropriately qualified health practitioner.
If some of your missing teeth are at the back of the upper jaw, the maxillary sinus becomes a relevant factor — this air-filled space sits just above the roots of the upper back teeth, and in some people the sinus floor can sit close to the available bone. That's especially common after several years without a tooth at that site.
A sinus lift gently raises the sinus membrane and places graft material beneath it, building enough bone height for an implant in that specific area. It only applies to upper back sites, and is only ever recommended where imaging shows it's genuinely needed for a stable result.
Any surgical or invasive procedure carries risks. Before proceeding, please seek a second opinion from an appropriately qualified health practitioner.
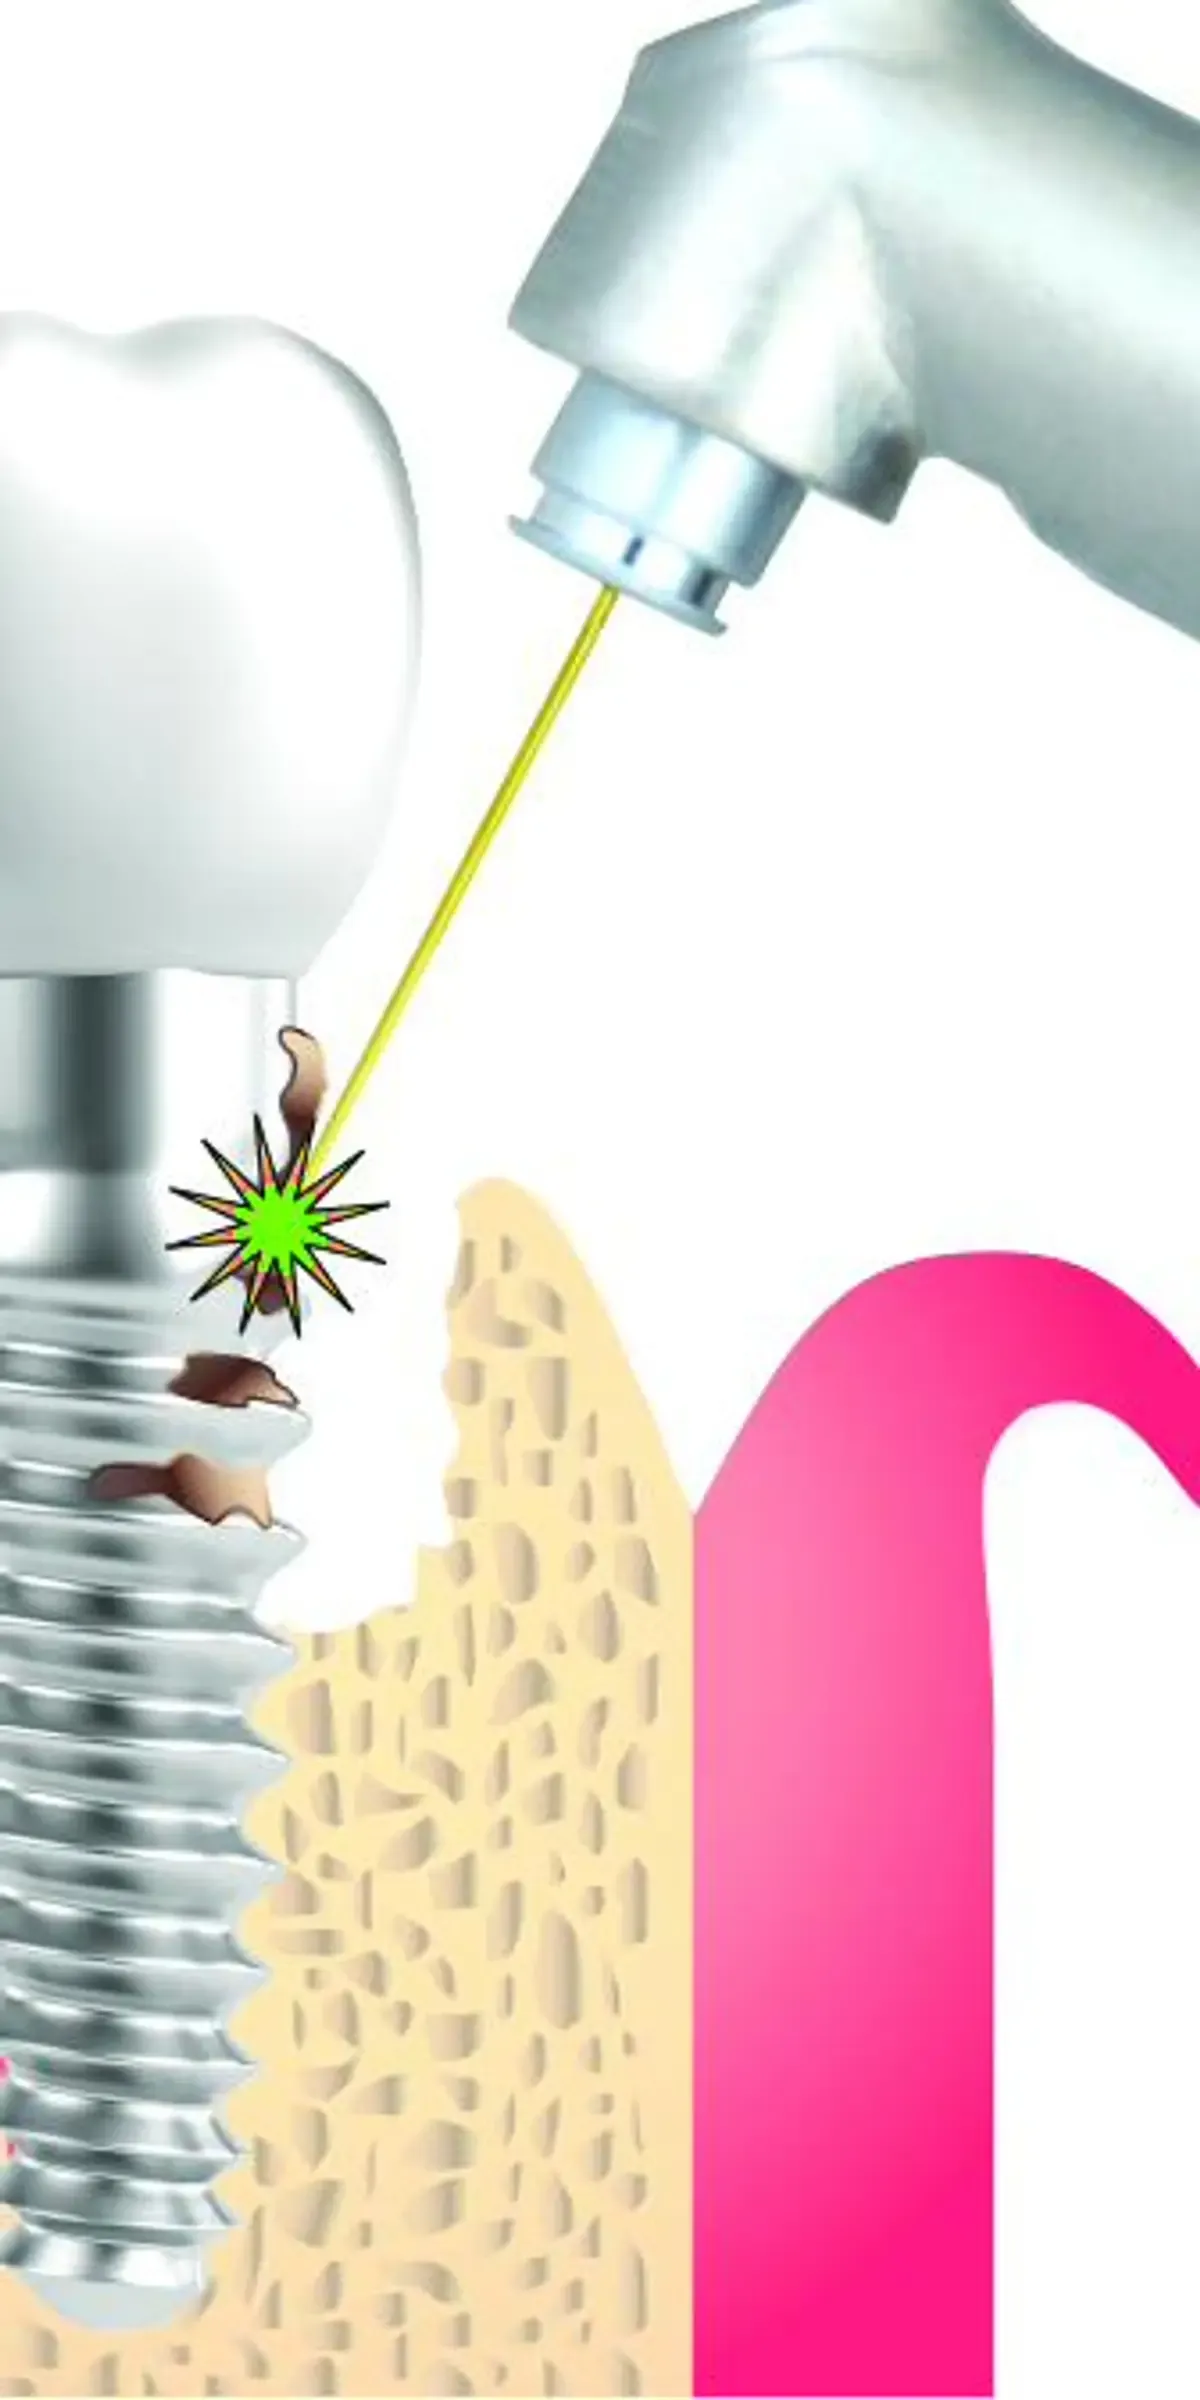
With multiple implants, each one is checked individually at review appointments — inflammation around one implant (peri-implantitis) doesn't mean the others are affected, and it's usually picked up early, well before it's noticeable day to day. An implant-supported bridge is reviewed slightly differently again, since the connected span needs to be checked at each supporting implant. For the wider picture, the dental implants hub compares the main options side by side.
If peri-implantitis is found on any implant, treatment can include laser-assisted decontamination of the affected surface, alongside a review of your home care and bite. We offer dedicated peri-implantitis management across all three clinics — read the full peri-implantitis page for the detail →
With several teeth involved, cost naturally scales with how many implants are needed — and whether an implant bridge reduces that number. We lay the range out in plain English upfront, and work with payment options that spread cost across smaller, regular amounts.
Know the numbers before you decide anything.
Curious what multiple implants might cost? Open the repayment estimator →
Estimate only — not a quote or credit approval. Your actual cost is confirmed at consultation, and depends on how many implants and whether bone grafting or a sinus lift is needed.
We accept





About the estimator: it gives an indicative figure only, based on typical per-implant pricing — it is not a quote. Every plan is priced individually once we've assessed all sites with 3D imaging, and bone grafting or a sinus lift, if needed, is costed separately. You'll always see the exact cost in writing before agreeing to treatment. Repayment figures are illustrative, calculated using Humm/NDP's own plan-fee formula for the term selected, so Humm's fees are already included; finance is subject to Humm's own eligibility criteria and approval, and is not guaranteed.
3D imaging assesses bone volume at each individual site, so recommendations are specific to each tooth, not a blanket plan.
We'll tell you honestly if an implant bridge could reduce the number of implants needed for your gap — and if it can't, we'll say that too.
Regular reviews check each implant individually, catching early signs of peri-implantitis before they progress.
A short consultation with 3D imaging is usually enough to map out your options. If you'd like to ask a few things first, give us a call.
Book a consultation (03) 8358 2565Information on this page is general in nature. Treatment outcomes, timelines and suitability vary between individuals — we'll examine your jaw and explain what's realistic for your situation before you decide anything.
Major health funds
A short consultation with 3D imaging is usually enough to tell whether individual implants or an implant bridge fits your gap best, with a clear, written cost estimate before you decide anything.